Installing wood floor over tile is a great way to upgrade the look of your home. Although installing wood floor over tile is not a difficult project, there are some steps you should take to ensure a successful installation. This guide will walk you through the entire process, from preparing the surface to finishing the floor.
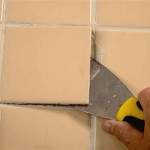
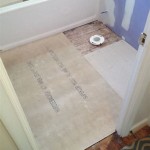
The first step in installing wood floor over tile is to make sure the surface is clean, dry, and level. If there are any high spots or low spots, use a self-leveling compound to level out the surface. Once the surface is level, you’ll need to rough up the existing tile to provide a better surface for the new wood floor. Use a sander or a grinder with a coarse grit sandpaper to do this.
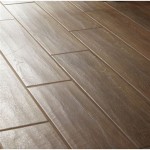
Once the surface is prepared, you can begin installing the wood floor. Start by laying down a layer of underlayment, which helps prevent moisture from seeping up through the tile. Then, lay down your wood floor using a pneumatic nailer or a hammer and nails. Depending on the type of wood floor you are installing, you may need to use glue as well. Be sure to stagger the boards so that seams don’t line up.
Once the wood floor is installed, you can begin to finish it. If you are using a prefinished wood floor, you won’t need to do anything more. However, if you are using unfinished wood, you’ll need to apply two to three coats of finish to protect the wood. Be sure to use a finish that is specifically designed for wood floors.
Installing wood floor over tile is a great way to upgrade the look of your home. For a successful installation, be sure to prepare the surface, lay down a layer of underlayment, and finish the floor. If you follow these steps, you’ll have a beautiful new wood floor in no time.


Related Posts


