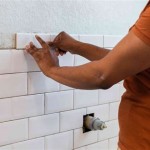
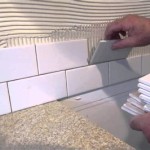
Removing wall tiles is a task that requires patience and precision. It can take some time, but it’s a straightforward process that anyone can do. Before you begin, make sure you have the right tools and supplies to complete the job. Here’s how to remove wall tiles in five easy steps.
Step 1: Prepare the Room. Before you start removing tiles, make sure the room is well-ventilated, and cover any furniture or fixtures in the area with a tarp. Wear proper safety gear, such as safety glasses, gloves and a dust mask.
Step 2: Remove the Grout. Using a grout saw, gently remove the grout between the tiles. Be careful not to damage the tiles while you’re working. Once the grout has been removed, use a vacuum to clean up the debris.
Step 3: Score the Tiles. Use a hammer and chisel to score the edges of the tiles. This will make it easier to break the tiles apart. Start tapping the chisel gently, then increase the pressure until the tiles start to break.
Step 4: Remove the Tiles. Once the tiles are scored, you can start removing them. Use a flat head screwdriver as a lever to pull the tiles off the wall. If the tiles don’t come off easily, you can use a crowbar to pry them off.
Step 5: Clean Up. Once the tiles have been removed, use a damp cloth to clean the wall and remove any remaining adhesive. Allow the wall to dry before painting or applying new tiles.
Removing wall tiles can take some time and effort, but with the right tools and supplies, it’s a relatively easy job. Follow these five steps to remove wall tiles and give your room a fresh look.


Related Posts


