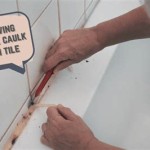
Removing shower tile can seem like a daunting and complicated task. However, with the right tools and safety precautions, you can take on the project and complete it successfully. Here are the steps you need to take to remove shower tile.
First, you need to prepare the area and make sure it is entirely dry. Use a dry cloth to clean the tiles and grout and make sure all dust and debris is removed. Next, you should cover any fixtures, such as faucets or drains, with plastic sheeting to protect them from damage.
Once the area is prepped, you can start removing the tiles. Use a hammer and chisel to carefully chip off the tiles one at a time. Be sure to wear safety goggles and a dust mask to protect yourself from debris and dust. When chiseling away the tiles, start from the outside and work your way in. This will make it easier to remove the tiles without damaging the surrounding area.
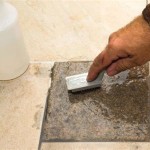
After all the tiles are removed, you need to remove the tile adhesive. This can be done using a razor scraper or a putty knife. Make sure to scrape away all the adhesive and get as much of it off as possible. Once this is done, you can use a grinder to remove any remaining adhesive and get a smooth surface.
Finally, you can start installing the new tiles. Make sure to follow all the manufacturer’s instructions and use a strong adhesive to secure the tiles in place. Once the adhesive has set and the tiles are secure, you can grout the seams and finish the project. With these steps, you can easily remove shower tile and replace it with new tile.


Related Posts


