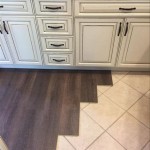
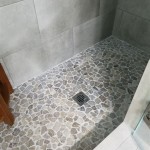
Adding wood tile to your home is a great way to update your space and give it a fresh, modern look. Laying wood tile correctly is an important part of the process, and it’s important to take the time to do it right. Here is a guide for how to lay wood tile in your home.
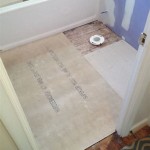
The first step is to prepare the floor. Start by sweeping and vacuuming the area to make sure there is no dirt or debris. If you are laying the wood tile over existing flooring, make sure that the surface is level and free of any bumps or ridges. If you are installing the tile on a concrete subfloor, make sure that the concrete is clean and free of any debris.
The next step is to calculate the amount of tile you need. Measure the area of the floor where you will be laying the tile, and multiply the length and width to get the square footage. Once you know the square footage, you can figure out the number of tiles you need by dividing it by the size of the tile. Make sure to add an extra 10% for any tiles you may need to cut to fit around edges or into corners.
Once you have the tile, you can start laying it. Start in the center of the room, and lay the tiles in a brick pattern. Make sure you are using a level to ensure that the tiles are even. When you get to the edges, you may need to cut the tiles and use spacers to create an even grout line. Once you have all the tiles laid, let them sit for 24 hours before grouting.
Grouting the tile is the final step. Mix up the grout according to the instructions and use a rubber float to apply it. Make sure to go over the grout lines a few times to ensure that the grout is even. Once the grout has set, use a damp cloth to wipe off the excess grout. Let the grout dry for 24-48 hours before walking on it.
Laying wood tile can be a great way to update your home. With some patience and the right tools, you can lay it yourself and get the fresh and modern look you’re looking for. Remember to clean and prepare the floor, calculate the number of tiles you need, lay them in a brick pattern, and grout them for a professional finish.


Related Posts


