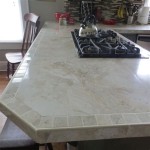
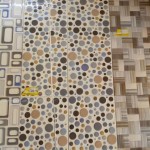
Sticky tile is a great option for updating your home without the mess of grout and adhesive. It is a great DIY project that can be done in just a few hours, and it can help you make a dramatic upgrade to your home without breaking the bank. Here’s a step-by-step guide to laying sticky tile, so you can get started on your project right away.
First, you’ll need to prepare your surface. Be sure to remove any old adhesive, dirt, or debris before applying the sticky tile. You can use a vacuum and damp cloth to do this. Once the surface is clean, you should apply a primer or sealer to further prepare the area for the new tile. This will help ensure that the adhesive sticks properly.
Next, you’ll need to measure the area you want to cover. Be sure to use a tape measure so you can get the exact measurements. Once you have your measurements, you can cut the tile to fit. Be sure to use a sharp utility knife and a straight edge for precise cuts. Finally, you can start laying the tile. Begin by applying the adhesive to the back of the tile, then pressing it onto the surface. Make sure to press firmly, so the adhesive will stick. Continue this process until all of your tile is laid.
Once the tile is laid, you should let it sit for 24 hours before using it. This will give the adhesive time to set. After the 24 hours, you can use the tile as normal. Be sure to clean it regularly, using a damp cloth and a mild detergent. This will help ensure that your sticky tile lasts for many years.
Laying sticky tile is a great way to upgrade your home without the mess of grout or mortar. With this step-by-step guide, you can get started on your project right away. Be sure to follow the steps carefully and you’ll be enjoying your new tile in no time!


Related Posts


