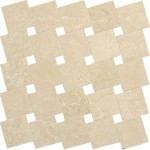
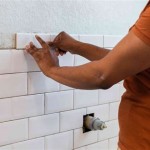
Tiling a backsplash is a great way to spruce up your kitchen. It adds a decorative touch, protects your walls from damage, and is relatively easy to install. Tile sheets are the easiest way to get the job done. Here’s what you need to know about installing backsplash tile sheets.
The first step is to prepare the wall. Make sure the surface is clean and free of dirt and debris. Use a putty knife to scrape off any old wallpaper and make sure any old glue is completely removed. If you’re tiling over existing tile, make sure it is securely adhered to the wall.
Next, measure the area where you’ll be tiling. If you’re using tile sheets, make sure to measure the sheet size and adjust your measurements accordingly. Always add a few extra inches to account for any irregularities in the wall.
Once your measurements are in order, it’s time to apply the tile adhesive. Spread the adhesive evenly with a trowel, and make sure to get into any corners or curves in the wall. Let the adhesive dry for the amount of time indicated on the package.
When the adhesive is dry, it’s time to start applying the tile sheets. Start from the bottom and work up. Use a level to make sure the sheet is even, and use a damp sponge to wipe away any excess adhesive. Make sure to space each sheet correctly to avoid any gaps.
Finally, let the tile sheets set for the amount of time indicated on the package. Once it is set, your backsplash will be ready to enjoy. With these simple steps, you’ll have your kitchen looking fresh and new in no time.


:no_upscale()/cdn.vox-cdn.com/uploads/chorus_asset/file/19497081/howto_mosaictile_06.jpg)


Related Posts

