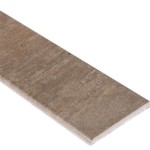
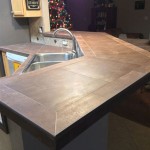
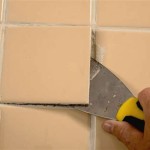
Installing bullnose tile is a great way to add a decorative edge to any tile project. The curved edges of the bullnose tile give a subtle, yet stylish, look to any tile installation. Installing bullnose tile is not difficult, but it does require some special considerations. Here are some tips to help you install bullnose tile like a pro.
First, you’ll need to make sure that the surface you are installing the tile on is clean and level. If the surface is uneven or has debris on it, the tile may not adhere properly. Be sure to fill any holes or cracks in the surface before beginning the installation.
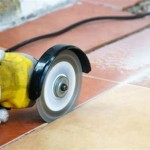
The next step is to measure and cut the bullnose tile to fit the area that you are working on. Bullnose tile is available in several sizes and shapes, so you will need to measure the area carefully to ensure you get the right size and shape for your project. Once you have the tile cut to size, you can begin the installation process.
When installing bullnose tile, it is important to use the right type of adhesive. Generally, a water-based adhesive is the best choice for most tile projects. Make sure to read the directions on the adhesive package carefully to ensure that you are using the proper type for the application.
When you are ready to install the tile, begin by applying the adhesive to the back of the tile. Then, carefully press the tile into place, making sure to keep it level. Allow the adhesive to dry completely before grouting the tile. Once the grout has been applied and the tile is dry, the project is complete!
Bullnose tile is a great way to add a decorative edge to any tile project. With a few simple tips, you can install bullnose tile like a pro. Be sure to measure and cut the tile correctly, use the right type of adhesive, and allow the adhesive to dry completely before grouting the tile. With a little bit of patience and care, you can have a beautiful tile installation in no time!


Related Posts

