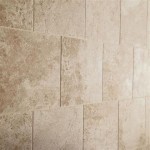
Tiling a fireplace may seem daunting, but it doesn’t have to be. With the right tools and materials, you can tile your fireplace with ease. Here is a step-by-step guide to help you achieve a professional look.
First, inspect your fireplace to ensure it is safe to tile. Check for any uneven surfaces, cracks, or other structural damage that could compromise the integrity of your tile job. If any repairs are needed, make them before proceeding.
Next, gather all the supplies you will need. This includes tile, adhesive, grout, a rubber float, thin-set mortar, a notched trowel, a damp sponge, a wet saw, and a tile cutter. Make sure your tile is rated for use on fireplaces.
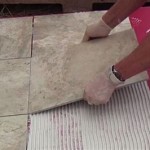
Now, begin laying the tile. Start from the bottom of the fireplace and work your way up, laying each tile in place with adhesive. Use the notched trowel to spread thin-set mortar evenly across the surface. Once the tiles are in place, use the rubber float to apply grout. Wipe away excess grout with a damp sponge.
Finally, use the wet saw or tile cutter to cut and shape tiles as needed to create a perfect fit. Once all of your tiles are in place, allow the adhesive and grout to dry completely before using your fireplace. With a bit of patience and the right supplies, you can tile your fireplace like a pro.


Related Posts


