Removing tile can be a daunting task, but with the right tools and techniques, it can be a breeze. Whether you’re removing wall or floor tiles, the process is generally the same. In this article, we’ll explore the easiest way to remove tile in both residential and commercial spaces.
The first step in the removal process is to make sure that you have all the necessary supplies. You’ll need safety glasses, gloves, a pry bar, a hammer, and chisels. Make sure that you have a good set of tools that are suitable for the job.
Once you have your supplies, you’ll want to start by removing the grout around the tiles. This can be done with a chisel and a hammer. Carefully chip away at the grout until it is completely removed. Be sure to use protective eyewear, as debris and dust can fly when chiseling.
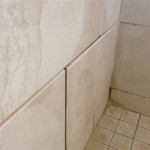
Once the grout is removed, you can begin to remove the tile itself. The easiest way to do this is to use a pry bar and hammer. Start by wedging the bar between the tile and the wall or floor. Gently tap the bar with a hammer to loosen the tile. Once the tile is loose, you can use your hands to carefully remove it.
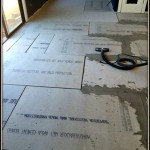
Finally, once the tile is removed, you’ll want to clean up the area. Use a vacuum to get rid of any remaining dust and debris. You may also want to use a damp cloth to wipe away any excess grout. Once the area is cleaned, you’ll be ready to install your new tile.
In conclusion, removing tile can be a tricky task, but with the right tools and techniques, it can be done quickly and easily. Start by gathering the necessary supplies, chisel away the grout, and use a pry bar and hammer to remove the tiles. Finally, clean up the area and you’ll be ready to install your new tile.


Related Posts


