Closing the Gap: The Ultimate Guide to Wood to Tile Transitions
Making the transition from wood to tile can be a tricky process. You want to make sure that the transition looks seamless, without any gaps or awkward lines. This guide will show you how to properly make a wood to tile transition, helping you create an aesthetically pleasing look for your home.
The first step is to make sure you have the right materials. You’ll need tile adhesive, a tile cutter, a grout float, a grout sealer, and of course, the tile and wood. Make sure to measure the area you’ll be working in before you begin, so that you have the right amount of materials.
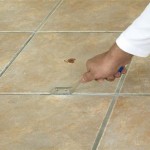
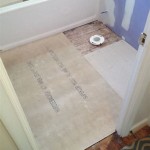
Once you have all the materials, you can start to install the tile. Start by spreading the adhesive on the area where you’ll be laying the tile. Make sure to press the tile firmly into the adhesive so that it adheres properly. Use the tile cutter to cut the tile to fit the area. Once the tile is installed, you can use the grout float to spread the grout between the tiles.
Finally, it’s time to make the transition from wood to tile. You’ll need to cut the wood to fit the area. Once it’s cut, you can use a miter saw to angle the edge of the wood so that it matches the angle of the tile. Make sure to use a sealant on the wood to protect it and keep it looking good.
The last step is to seal the grout to protect it from moisture. Use a grout sealer to ensure that the transition from wood to tile looks perfect and lasts for years to come. With these easy steps, you can make sure that your wood to tile transition looks great and will last for years to come.


Related Posts


